


At a glance
Building automated email workflows in MailerLite suits content creators, freelancers, and small ecommerce shops that need clean drip sequences without enterprise overhead. The Free tier supports rudimentary 5-step sequences, while the Comfort plan accommodates multi-branch nurturing with up to 100 steps across 50 active automations. However, if your business requires multiple entry triggers per sequence or unlimited automations, you must evaluate the Power tier to prevent administrative bottlenecks.
In this guide
MailerLite Workflow Architecture and Trigger Constraints
MailerLite utilizes a node-based visual workflow builder that allows marketers to construct sequential journeys based on subscriber actions. When mapping a customer journey, every sequence begins with an entry trigger, followed by conditional steps, delays, actions, and outbound email messages.
Understanding entry triggers is vital before laying out an automation canvas. Basic workflow triggers available in the platform include:
- Subscriber joins a group: Initiates onboarding or lead magnet delivery when a contact enters a specific interest group or list segment.
- Subscriber completes a form: Delivers opt-in incentives or confirmations immediately after an embedded or pop-up form submission.
- Clicks an email link: Routes contacts down customized nurture paths when they demonstrate explicit interest in a topic or product link.
- Updated field: Triggers sequences when profile metadata changes, such as updated preferences or lead status.
- Anniversary / Specific date: Automates renewal notices, birthday greetings, or seasonal promotions based on date fields.
- Ecommerce triggers: Syncs with platforms like Shopify or WooCommerce to trigger purchase follow-ups and cart recovery sequences.
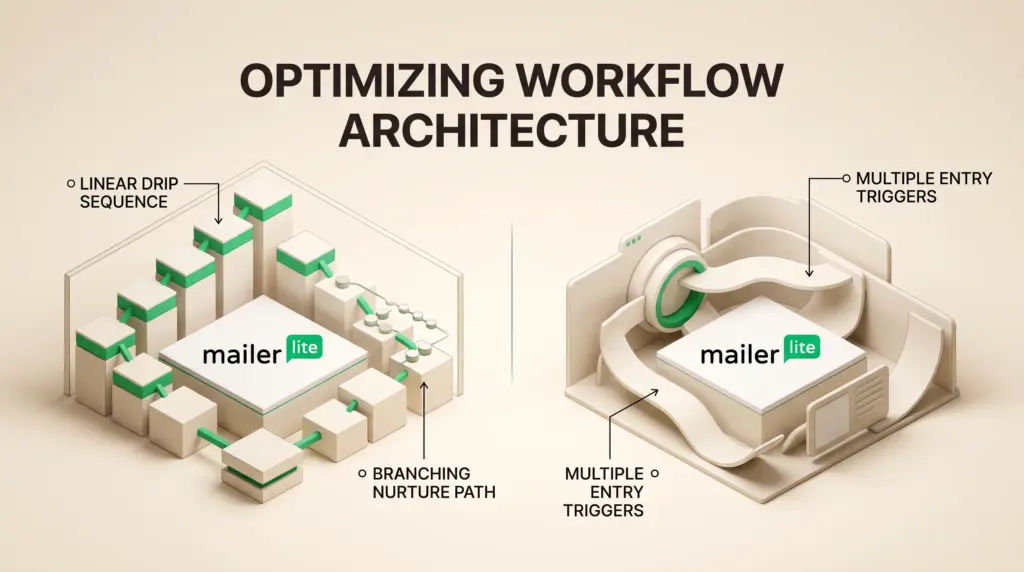
A crucial technical distinction between plan tiers is trigger flexibility. On the Free and Comfort plans, each automated workflow is bound to a single trigger event. If you want subscribers who fill out Form A or enter Group B to receive the exact same sequence, you must duplicate the workflow or consolidate your entry logic upstream. The Power plan unlocks multiple automation triggers, allowing several distinct events to route contacts into a single workflow canvas.
Comparing Automation Limits Across MailerLite Plans
While the visual editor remains intuitive across all tiers, MailerLite imposes hard structural limits on how many workflows you can run and how deeply those workflows can branch. Deciding which tier fits your business requires weighing your subscriber count against workflow volume.
| Plan | Active Automations | Maximum Steps Per Automation | Triggers Per Workflow | Monthly Sending Allowance |
|---|---|---|---|---|
| Free | 3 | 5 steps | Single trigger | 2,500 emails (up to 250 subscribers) |
| Comfort | 50 | 100 steps | Single trigger | 10× subscriber tier ceiling |
| Power | Unlimited | 100 steps | Multiple triggers | Unlimited monthly emails |
As documented on the MailerLite Pricing page, the Free tier limits each workflow to just 5 steps. This constraint means a single workflow can typically accommodate an entry trigger, a welcome email, a delay timer, a follow-up email, and a concluding tag action. Any branching path or conditional check rapidly exhausts the 5-step ceiling, making the Free tier viable solely for linear drip sequences.
Upgrading to Comfort expands the limit to 100 steps per automation and allows up to 50 active workflows. This provides ample capacity for branching logic based on whether a recipient opened a prior message or clicked an offer link. For teams scaling their operations further, our analysis of MailerLite Comfort vs. Power outlines where live chat access, unlimited forms, and uncapped workflows become commercially necessary.
Designing Branching Logic and Delay Sequences
To avoid dead ends or bloated automations, structured branching requires clear rule definitions. In MailerLite, branches are established using the Condition step, which splits subscribers into “Yes” and “No” paths based on specific criteria.
Key execution practices for reliable workflows include:
- Deliberate Delay Placement: Insert delay nodes before condition checks. Evaluating whether an email was clicked five minutes after dispatch will route nearly all contacts down the negative branch. Providing a 2- to 3-day buffer ensures subscribers have time to interact before the system evaluates engagement.
- Tagging at Decision Points: Apply or remove interest tags inside specific branches. If a subscriber takes an action that signals buying intent, apply an interest tag to trigger dynamic content in future newsletters.
- Exit Conditions: In multi-email promotional funnels, place conditions that check for completed purchases or group memberships. This prevents active customers from continuing to receive aggressive discount prompts.
- Auto-Resend Integration: On paid plans (Comfort and Power), users gain access to campaign auto-resend features. While distinct from workflow nodes, integrating clean preference centers and automated reminders prevents list fatigue.
Automation Bottlenecks and Platform Limitations
While MailerLite is efficient for standard marketing funnels, freelancers and growing teams should note several operational boundaries:
- Step Ceilings: Both Comfort and Power maintain a ceiling of 100 steps per workflow. While 100 steps is sufficient for most funnels, intricate web-hook-heavy setups or extended 6-month nurture courses must be broken into modular, linked automations.
- Sending Multipliers on Comfort: Sending allowances on the Comfort tier are capped at 10 times the ceiling of your active subscriber tier per month. If your automations send heavy multi-email drips alongside regular broadcast campaigns, you risk running into monthly volume thresholds before hitting contact caps. For a detailed breakdown of list-size economics, consult our MailerLite Pricing Guide.
- API Sending Restrictions: On the Free plan, API access is limited and explicitly excludes email sending via API or MCP servers. Programmatic triggering of transactional or automated messages requires a paid subscription.
- No Complex Cross-Workflow Merging: MailerLite does not feature visual “go-to” nodes that reconnect two disparate branches back into a unified path. Once a path splits, both tracks remain separate until the end of the workflow, which can increase the step count rapidly.
Teams requiring complex event-driven CRM triggers, SMS sequencing, or multi-channel funnels may find MailerLite’s scope narrower than dedicated marketing suites. Those evaluating broader funnel architectures can review our comparison of MailerLite vs GetResponse.
Which MailerLite Plan Fits Your Workflow Needs?
Choosing the correct plan depends on the architectural depth of your campaigns and the frequency of automated touches:
- MailerLite Free: Best suited for solopreneurs with under 250 subscribers who need a simple welcome email, a lead magnet delivery note, or an RSS notification. The 3-automation and 5-step caps preclude advanced segmentation.
- MailerLite Comfort (Starting at $12/month): The standard choice for freelancers, service professionals, and small businesses running segmented lead nurture funnels, customer onboarding, and post-purchase follow-ups across up to 50 workflows with up to 100 steps each.
- MailerLite Power (Starting at $25/month): Necessary for high-frequency senders, multi-brand operations, and stores that require multiple triggers per workflow to streamline management across various lead generation assets without duplicating sequences.
Next Steps for Implementing Workflows
To establish your automations efficiently, map your workflow logic on paper or a whiteboard before configuring it in MailerLite. Identify the exact entry condition, the target delivery intervals, and the fallback actions for unengaged subscribers.
Begin by verifying your sender domain and DNS records (DKIM and SPF) inside MailerLite’s account settings to ensure consistent inbox placement. Construct your forms and interest groups next, as these serve as the entry triggers. Once your sequence is built, utilize MailerLite’s preview and test send tools to review individual email rendering across desktop and mobile clients before toggling the workflow to active.
Sources and further reading
Research checked 2026-10-04. Product details can change.